Sunday, May 1, 2011

Transplants

This weekend the rain ceased and I decided to buy transplants and get them in the ground.  For anything that can't be directly sown into the garden I have to buy transplants because I do not have an indoor light system to start seedlings.  It took over 5 hours to get everything planted, although it doesn't look like 5 hours worth of work.  Part of the problem is I am too precise and perfectionistic.  However I have the sunburn to prove the hours I spent in the garden today.  It was wonderful to be outside on such a beautiful day.

Last year I planted all of my transplants on May 6.  I decided that the weather was good enough and that I would probably just have to cover them with row cover a couple of nights to protect them.  Honestly I was late on lettuces and such that with my transplants I wanted to be early and have them get a head start.

A mixture of tomatoes, zucchini, cucumbers, basil, leeks, mint, eggplant, pepper and marigolds.  We plant marigolds in the borders to help keep out pests.  Supposedly the French Marigold's scent is undesirable to bunnies and the like.  We have been planting them from year one and haven't had any trouble with the multitude of bunnies and continue to do so, who knows if it's what really keeps them out. 

The old garden bordered with marigold's, basil planted and leeks transplanted.  Half the leeks look pitiful, the leaves have wilted and flopped over.  They were more work than I realized to get them in the ground.  I watered them right away and am hoping the water and cooler night will perk them up.

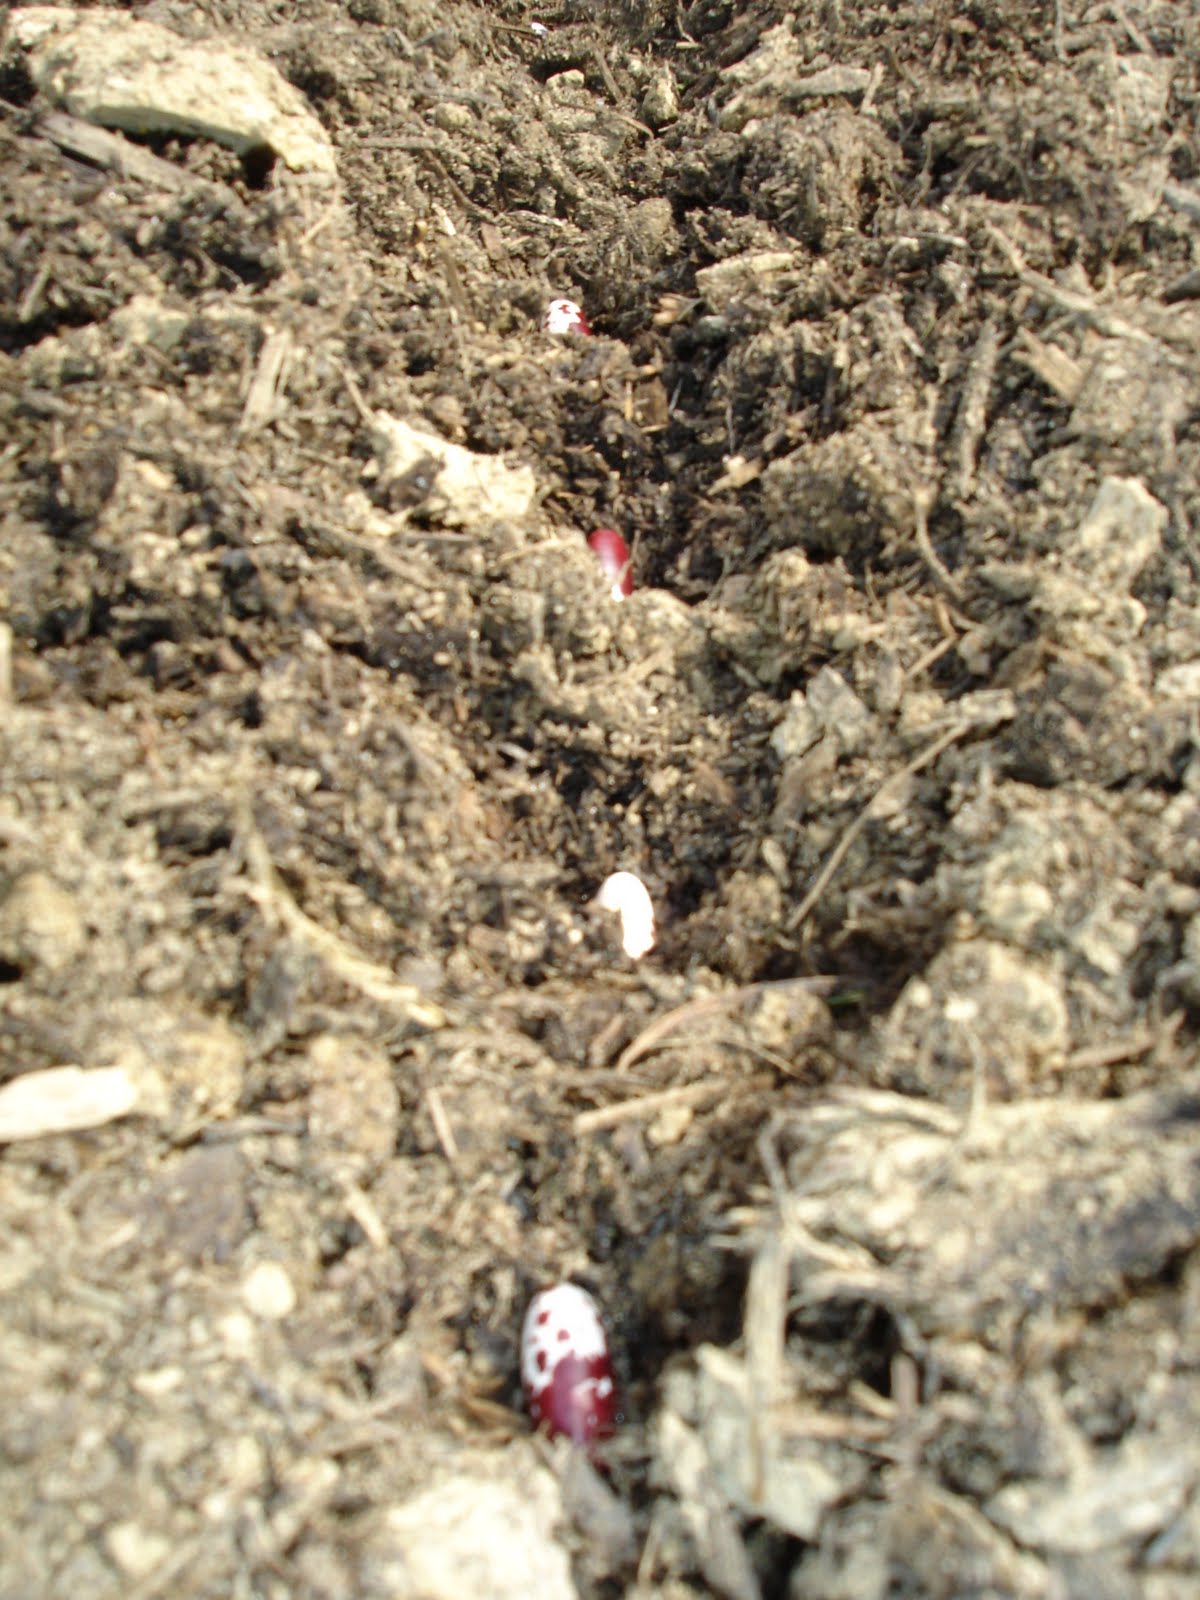
The second bed has zucchini, cucumber, green beans, purple snap beans, Jacob's Cattle and Kenearly Yellow drying beans.  The bottom left corner of the bed that you can tell is dry has been left empty for a succession planting in about two weeks.  The picture on the right is Jacob's Cattle beans, I picked them purely based on looks and reputation.  I spaced the beans two inches apart according the seed package directions.  This seems too close but I figure they can be thined out if necessary.

I was only able to find one lone zucchini plant and I can't find any yellow summer squash at any local garden centers.  I prefer to buy from local stores because there quality and selection is better than the bix box stores.  I have another garden center I am going to go check tomorrow.  I dug the wholes where the other plants will go once I get them.  On the far right is a cucumber variety specifically for pickles.  Neither one of us like cucumber but we both love pickles.


This box has the eight different tomato varieties, eggplant, pepper and the far upper right corner that was left was filled in with green beans.  Eggplant and green beans are great companion plants as the green beans help to repel Colorado Potato Beetle which is a pest of eggplant.  We plant the marigolds around the edge of the beds and in the middle with the tomatoes because in addition to repelling pests marigold's help to kill nematodes that can live in the soil.  I also planted borage seeds along the border that will come up in between the marigolds.  I read that deer seem to stay away from them and might help to repel them from the garden.  Borage is also an edible flower and will be a pretty garnish to many of our dishes.

Saturday, April 30, 2011

Records

Today is the last day of April and here in Cincinnati this month is going down in the record books.  This month we received 13.52 inches of rain, the most for any April on record and the second highest month of rainfall on record ever.  We missed the record for the most rain in a month by .16 inches.  The sunshine we had today was a welcome change.  Unfortunately tomorrow we return to the rain for days on end, again...

Thursday, April 28, 2011

Seedlings

Signs of life are beginning to show in the garden as many of our seedlings have emerged and are growing!

 Spinach

 Lettuces

 Onions

 Radishes

Can you see the teeny tiny carrots in between the radishes?

Wednesday, April 27, 2011

Long Live The Queen

On Thursday all the bees were installed into the hive but one last step in the installation still had to occur.  We needed to get the queen cage out of the hive after she had exited it.  But first the bees from the outside of the cage and the bees from the inside had to eat the sugar candy blocking the cage's entrance.  When I opened up the hive I was excited to see that they had already started to make the hive their home, building up comb and packing pollen into cells.  Unfortunately our queen, Victoria, was still in the cage because the candy hadn't been eaten through yet.  So I put the cage back and decided to go back into the hive on Tuesday for a second try.

 They started building some comb in the feeder.  As it is right now it's not a big deal but if they really start filling it out I might have  to remove it.


 Comb the ladies are working on building out.


Then on Tuesday after work when I went back into the hive I found that the bees had eaten through all of the candy and Queen Victoria had entered the hive!  I was really happy to find that she had been able to get out on her own.  If she hadn't exited the cage at this point I would have had to manually open up the candy end, put the cage back in.  Then go back in again today to retrieve the cage and space the frames properly. 

I really didn't want to go into the hive three days in a row, and today we are supposed to receive significant rain which would delay being able to get into the hive.  If you leave the frames spaced improperly too long the bees will begin to build crazy comb configurations.
A welcomed sight, an empty queen cage.

It's hard to tell from this picture but in just a day they have definitely built the comb out significantly more. 

From all the rain we have been getting the copper top is already a bit patina.

Tuesday, April 26, 2011

Homemade Mayo

This past Christmas I received a cookbook from my good friend Lauren about seasonal cooking.  As I was perusing it I noticed a recipe for homemade mayo which excited me because normally people think you couldn't possibly make mayo at home and here was the recipe at my fingertips!  So when deviled eggs were requested for Easter to snack on while we were cooking I decided that this was the perfect time to try out the recipe. 

The mayo was delicious, tangy, and a beautiful light yellow.  Ours was a little more lemony than I think it should be but I added extra lemon since it was my first time and I wanted to ensure that the yolks were "cooked."  I am normally not a big mayo person but this spread is something I would want to use all the time.  Besides the deviled eggs I have slathered it on paninis which made our sandwiches definitely more decadent.  The mayo is almost all gone which is good because homemade mayo should only be kept for about 4 days.


Homemade Mayo
2 egg yolks room temp
1 TBS lemon juice
1/2 cup grape seed oil
1/4 tsp white wine vinegar
salt and pepper to taste

First beat together the yolks and lemon juice until it thickens.  Then start adding in the oil about 1/2 tsp at a time while beating vigorously.  Once about half of the oil is added and the mixture is thickening nicely you may very thinly stream the rest of the oil in while beating.  When the mayo is the proper consistency mix in the white wine vinegar then salt and pepper to taste.

When the mayo is made you also could add in other items for different flavors such as Dijon mustard or different herbs.

The recipe I followed was adamant that in the beginning you should only add oil a drop at a time, I found this tedious but it worked.  However this week a French chef on Martha Stewart just streamed it all in at once and it seemed to work just fine.  He also used a blender while I used an electric mixer.  Which version is the proper way I don't know?  Next time I am going to try just very thinly streaming it in while beating to see if it really matters.  I do know you don't want to pour it in all at once.

Monday, April 25, 2011

Using Up Stores

I wish we had harvests to speak of but between expanding the garden and then all of the rain it was difficult to get seeds in the ground, and I was definitely late this year.  We have however been using up the last little bit of last years harvest.  This past week I used up my last jar of tomatoes, we only have a couple of green bean jars left, and I thought we were going to use the rest of the garlic for Easter but I luckily have a couple left.


For our Easter feast we had a fig/walnut/gorgonzola salad, pancetta wrapped beef tenderloin, and asparagus dressed with lemon juice and olive oil. 

A's Bday and 20 Brix

Happy Birthday Andy, today he turns 28!  Because this past weekend was Easter we actually went out to celebrate over a week ago.  Andy chose 20 Brix a local restaurant and wine bar, located in old downtown Milford, that we have been wanting to go to for years but just never got around to it.  It definitely did not disappoint.

We were sat at the table closest to the waiter's station and kitchen.  I really didn't mind, sometimes you get better service sitting that close to the kitchen and you get to see the action.  When the waitress came over she had in hand free glasses of champagne since we had the table with the least ambiance.  I almost want to request this table from now on.

The food was absolutely decadent and delectable.  The presentation was top notch, feasting with your eyes before the mouth.  We started the meal with some appetizers, salad and wine while the main stars of the meal were. . .
The venison was tender, juicy and not at all gamey.  It sat atop roasted carrots, greens, potato fritters with a red wine reduction.
Trout, I wish I could remember what the sauce was but it was served with a mixture sautee of potatoes, celery, olives and tomatoes.  It was good!

Shrimp and Grits with a sherry sauce and pancetta.  I have to tell you these grits were creamy, smooth and dangerous.  If I knew grits could be this good I would have become a convert years ago.

This is the complimentary birthday dessert I think it was called the chocolate kiss.  It just showed up at the table without having to order it.  The chocolately goodness was the perfect ending to our meal. 

Our meal was amazing, we would definitely give it five out of five stars and look forward to visiting 20 Brix sometime soon hopefully.

Saturday, April 23, 2011

Bee Video

If the pictures weren't enough Andy videotaped the entire thing and then worked his editing magic to bring you the entire experience.  Enjoy!

Friday, April 22, 2011

Bee Pictures

I promised lots of pictures of the installation of the bees, and here there are.  I do have one request and that is that you don't snicker or judge the outfits, it turns out that the only downfall of beekeeping I can find is that the outfits aren't worthy of the pages of Vogue.  While I did opt not to go for the I just landed on the moon bee suit look, the veil I have isn't tons better.  In order to tie the veil properly so that bees can't get up into it I have to criss cross it around my body so that it looks like I am wearing a boob harness. 

You also don't want to wear anything too baggy so bees don't get under your clothes.  Unfortunately the hunching and bending over with the tight clothes doesn't necessarily highlight the best features of one's figure.  I am not immune to the universal woman's opinion that she looks fat in every picture.  And honestly I was focused on not dropping the 3,000+ bees all over my yard over and nothing else.  So I am shelving my vanity in order to share our exciting experience of putting the bees into our very first hive!  I can however promise that I will be looking for a more flattering and useful bee outfit for the next photo shoot.

Many thanks to our friend Michelle who is another fellow beekeeper and came over to provide moral support, expertise, coaching and photographer.  All of these pictures are courtesy of her.  Michelle are you sure you aren't a professional photographer?  My camera could never take photos with this wonderful detail.


 Andy was a bit nervous at first, obviously.  But by the end he was picking the bees up and couldn't get enough of them.  Look at the brand new beekeeper's smoker billowing beautifully.


 Spraying the bees down with sugar water so that they can't fly off.


This picture beautifully shows the can of sugar water that feeds the bees in transportation with the queen cage next to it.  You have to slam the box down to get the bees to the bottom then pry out the can and queen cage before putting the bees in the hive. 

Introducing Queen Victoria, yes we named our queen.


Placing the queen cage in the hive, you can see the duct tape holding it next to a frame.  The queen is in a cage because she is not the original hive's queen.  She and the hive need time to take on each other's scent and then the worker bees will accept her.  During this time the bees will eat away at the candy and by the time they eat through it everyone should be loving on each other!  I will take the queen cage out sometime next week.

The typical method of installation entails lots of shaking the bees out of the box.  We opted for the less traumatic version of placing the bee box inside the hive and letting them come out on their own.  This does mean that within 24 hours I have to open the hive back up to fish out the box.

 Putting on the feeder and filling it with sugar water.  The bees need food until they are able to go forage on their own.


The happy couple and their hive filled with bees!


 Yep we are nerds, doting on our bees as if they were our own newborn child!