Showing posts with label Cooking Endeavors. Show all posts

Sunday, August 25, 2013

Busy

I've been around lately but just super busy, too busy to blog.  Once August kicked in I hurried up to finish the projects that I had had been putting off all summer: patching/repainting the porch and fixing cracks in the bathroom.  Then I started to feverishly cook food from the garden and prep meals to stock the freezer for the school year.


I've been picking things from the garden but not taking many pictures.  The past few weeks have been solely focused on getting ready for the new school year.  Ready or not the tomorrow is the first day of school with my new batch of first graders.  I met most of them at preview night last week and I am excited to get started!  Once the school year is underway I should be around a bit more.

Friday, July 12, 2013

BET

Forget the BLT my new favorite sandwich is the BET: Basil, Eggplant and Tomato.  We have a decent amount of eggplant coming in and one way I have been using it up is grilling it and pilling it up on a sandwich with tomatoes and basil from the garden along with a little mayo.  It is delicious!

Wednesday, June 5, 2013

Garlic Scape Mayo

With the scapes that were harvested I put a couple in the food processor with some mayo.  I also used a little olive oil to thin things out and get them moving in the food processor.  It is delicious!

Sunday, April 7, 2013

Stove Top Popcorn

Lately my new thing has been making stove top popcorn.  I've never made stove top popcorn before and had no desire to.  That was until our nephew, a boy scout, was selling popcorn this fall.  Of course being a good aunt and uncle we had to buy some.  That was until I saw the order form and prices.  A box of microwave popcorn was $20 and the tins of the caramel covered stuff was around $30.  Being that we don't really ever eat popcorn, $20 for a box of 4-5 fake butter drowned microwave bags seemed outlandish.  So we bought the bag of popcorn kernels for $10.


When we got the popcorn it went into the pantry and has sat there since I had no idea what to do with a bag of kernels.  Growing up we had an air popper and I loved putting the butter in the top cup and watching it melt from the heat of the popping.  Then came microwave popcorn and the air popper I am sure got tossed along the way.  I wasn't about to buy a piece of equipment for one bag of popcorn kernels.  So last night after months of the bag staring at me every time I opened our pantry I decided to break down and learn how  to make popcorn on the stove top.  It turns out it's actually not difficult and dare I say better than the microwave stuff.  In the past 24 hours I have made two batches and am tempted to make more.

Wednesday, February 6, 2013

Roasted Chicken

When the weather is as cold as it has been nothing is better than warming up the house with a roasted chicken for a winter meal.  Of course I also made a good amount of stock from the carcass too.

Thursday, January 17, 2013

Ham Bone

At the holidays we always enjoy a ham as part of our celebrations.  But I also enjoy when it's gone because I am left with the bone which I used to make some more delicious dishes.

First I made a bean soup where the bone lent a smokey flavor.

Then I transferred the bone to a pot with some celery, carrots, onion and bay leaf.  I covered them with water and simmered it for a few hours to soak up any left over flavor for a broth.  And after coming across this article I felt it was worthwhile to spend the time to get the last little bits from the bones.


Tuesday, January 8, 2013

Veggie Soup

Lately I have really been into hearty homemade veggie soup.  It's warm, comforting and healthy because it is filled with veggies!  The chard and carrots are from our garden, the rest is store bought.

We've also been eating it with crusty bread, olive oil and pesto for dipping.  It's yummy and I get to use my new favorite plate, a Christmas gift to myself.

Monday, December 31, 2012

Happy Hollandaise


The past few years we have traveled to Petosky, Michigan between Christmas and New Years.  We always stay at an inn that has fantastic Eggs Benedict that we eat every morning.   This year we did not go but the snow reminded us of those holiday breakfasts.  Hollandaise sauce is our favorite part of the meal, the buttery rich sauce is decadent and delicious.  It was a perfect meal to cozy up to on a cold, holiday night.


Most recipes call for 1TBS lemon juice this time I only used 3/4 TBS because often all I can taste is the lemon juice.  3/4 TBS was the perfect amount this time.  It was enough to "cook" the egg yolks but not too much that the lemon flavor over powered the richness of the sauce.  I also used a smidge more butter over the recipe's half cup.

Hollandaise Sauce:
4 egg yolks
3/4 TBS lemon juice
1/2 cup + 1TBS melted unsalted butter
pinch of salt
pinch of cayenne

Whisk together egg yolks and lemon juice in a stainless steel bowl over barely simmering water until doubled in volume.  Then drizzle in butter while rapidly whisking until sauce doubles in volume again.  Whisk in salt and cayenne.  Cover and keep warm until use.  If sauce is too thick add a drop or two of warm water at a time until desired thickness.

Sunday, December 23, 2012

Preparing and Celebrating

Over the past few days I have been preparing for our Christmas celebrations.  One of the big ways I have been getting ready is by baking all our cookies within a 48 time period, something I normally do over multiple weekends.

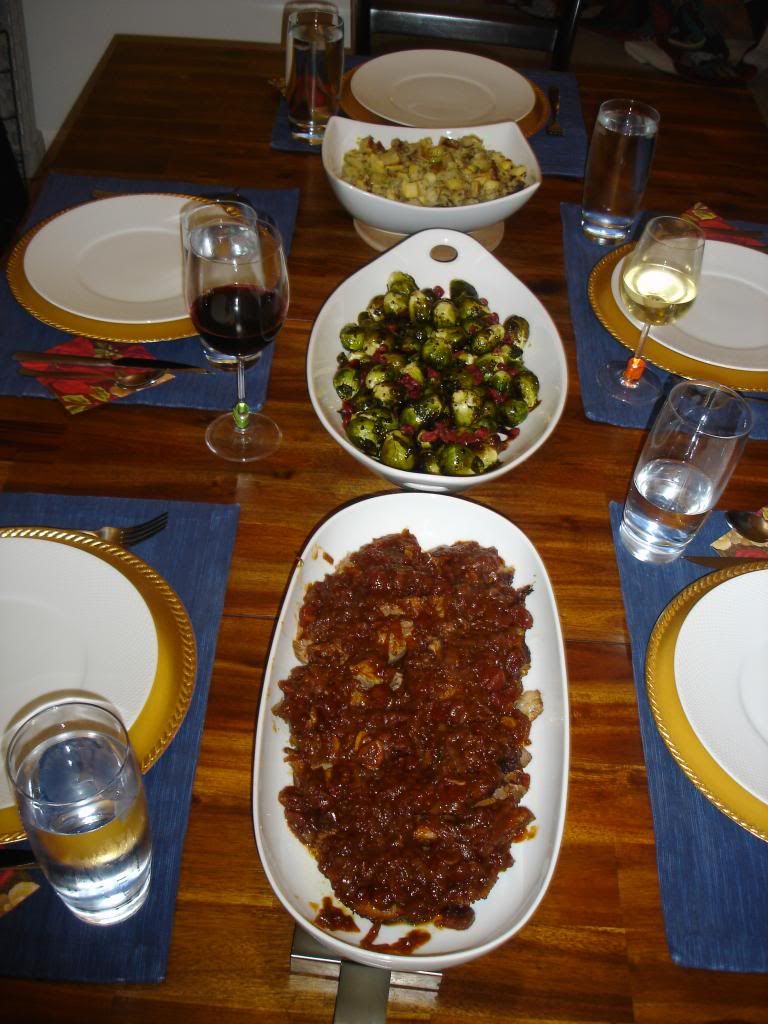
Today we had our first Christmas celebration.  We will be getting together with different groups of family members over the next few days.  I hosted today's group.  Our feast consisted of:

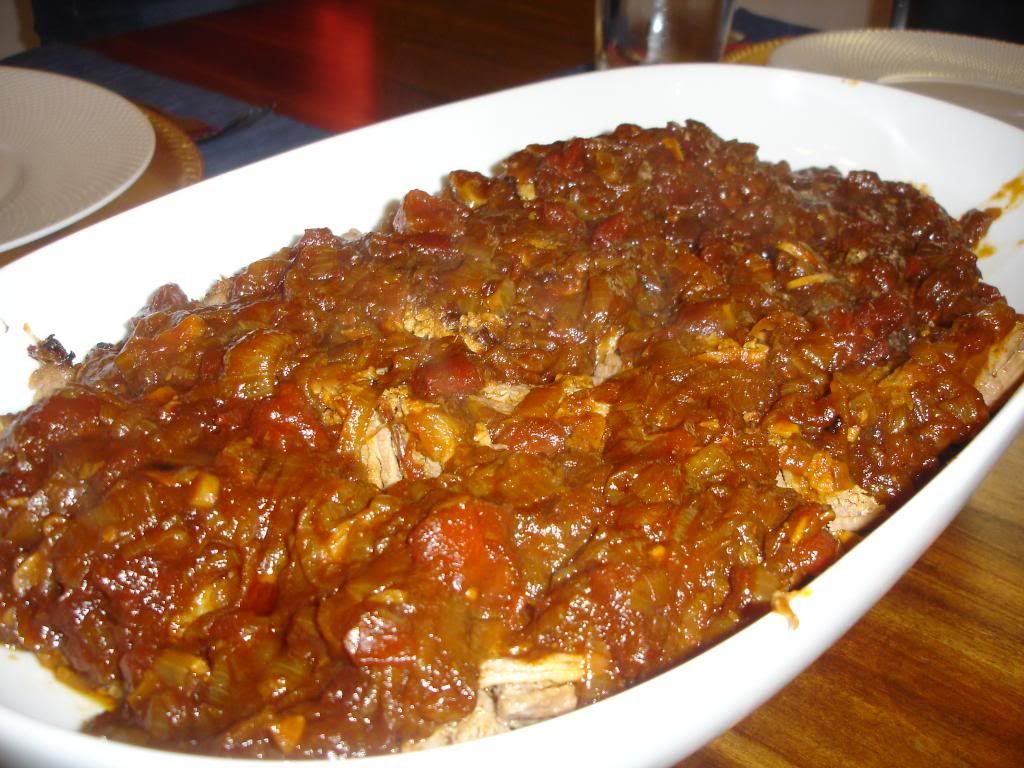
Brisket in a tomato, white wine reduction

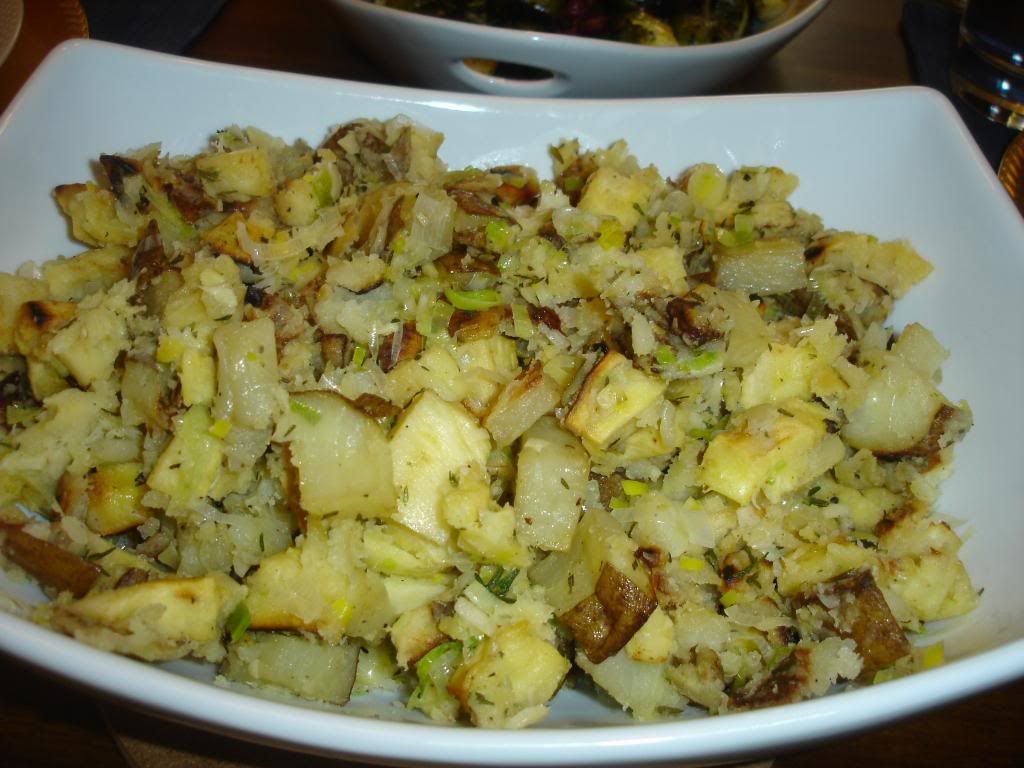
Smashed potatoes and parsnips

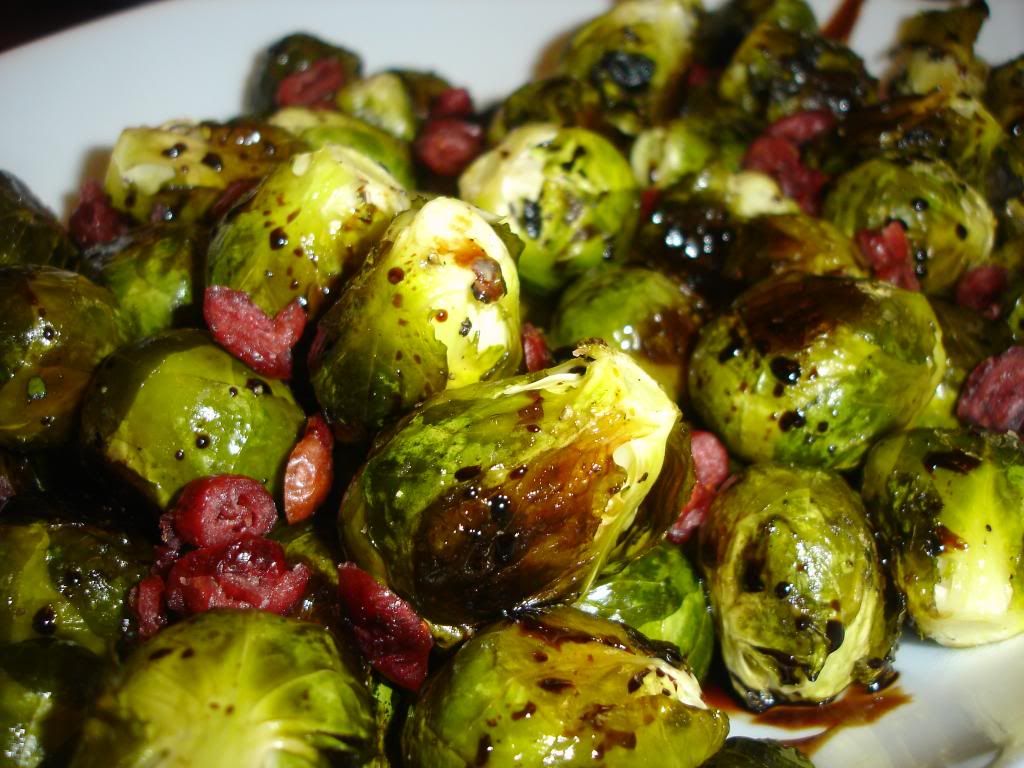
Roasted Brussel Sprouts

We rounded out the evening with a rousing game of Jenga.

Tuesday, December 18, 2012

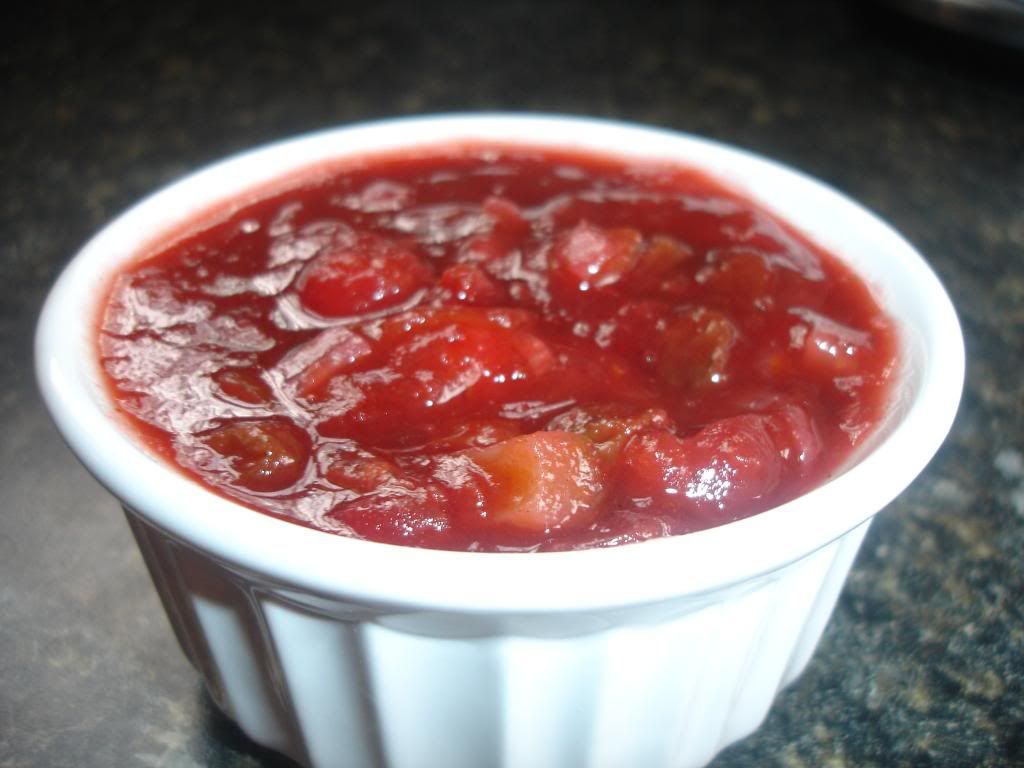
Cranberry Chutney

It's beginning to smell a lot like Christmas in our house!  This weekend I started doing my first holiday cooking by making my yearly batch of cranberry chutney.

The smell of the chutney in the house screams Christmas.  I always make enough to enjoy on Christmas and freeze a bit for later in the year as a quick go to item when I need something to take to a party.

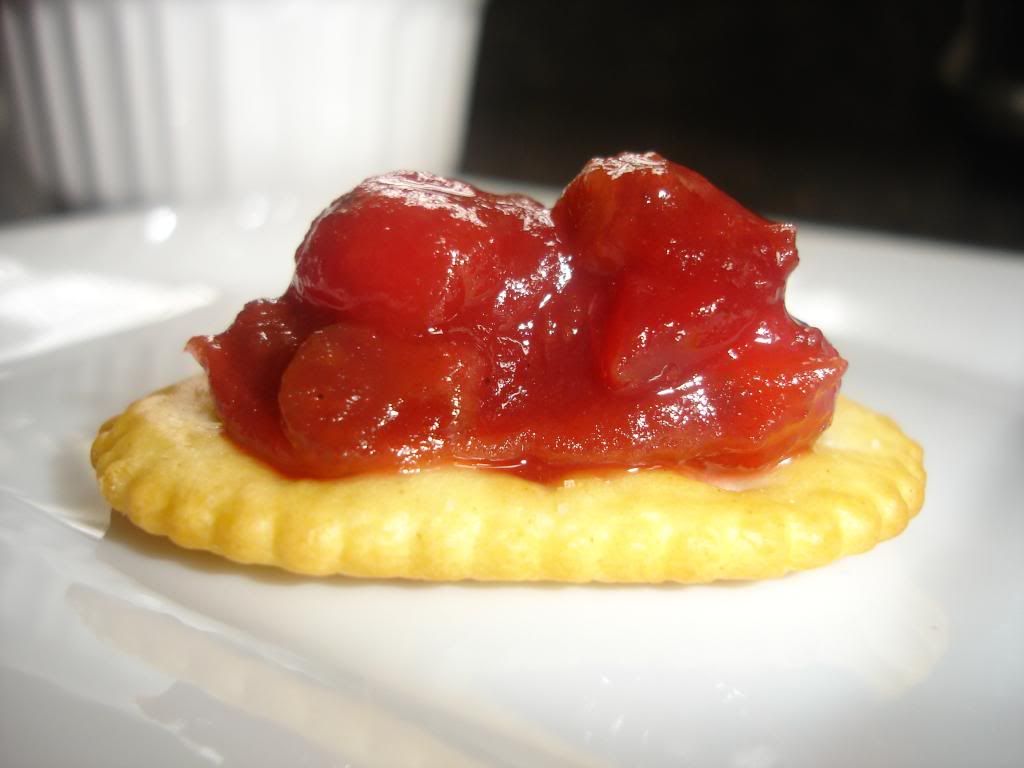
We enjoy it the most on crackers as part of a cheese plate.

Thursday, August 2, 2012

Pasta with Tomatoes, Basil and Mozarella


One of my favorite summer dishes to make is a simple pasta dish that uses fresh tomatoes.  I cook any kind of pasta according to package directions.  Then in a separate pan I saute minced garlic in a tablespoon or two of olive oil for one minute then add in multiple chopped tomatoes.  I normally use at least 4 or 5 large tomatoes but it really depends on the size of your tomatoes and how much tomato you really want.  I cook the tomatoes down for a a minute or two then season with salt and pepper.  Toss with the pasta, add some chopped basil and fresh mozarella.  That's it!

Thursday, July 26, 2012

Refrigerator Pickles

We don't like cucumbers.  It might make you wonder why we grow them.  The reason is because we love pickles, especially refrigerator pickles.  Refrigerator pickles aren't too vinegary, are salty enough, have excellent fresh dill flavor and are wonderfully crisp.  I've tried canning dill pickles and they always seem too vinegary and are mushy.  If you've got a good dill pickle canning recipe send it my way otherwise for now I am sticking with refrigerator pickles.


You will need:
-3 cups of water
-3 TBS salt
-6 TBS vinegar
-sliced cucumbers
-a bunch of fresh dill
-a clove of minced garlic


Mix the salt, water and vinegar together and stir until the salt is dissolved.  I layer the cucumbers, dill and garlic into any nonreactive container.  I use as many cucumbers as I have on hand or will fit in the container.  Again I use as little or as much dill as I have on hand or based on how dilly I want the pickles to be.  You could also put more garlic in if you like, there is no wrong way.


Then pour the brine solution over them so that everything is submersed.  Put them in the fridge and let them sit for at least 48 hours or until they have soaked up enough brine and enjoy!

Thursday, July 19, 2012

Slow Cooker Yogurt

I came across a recipe for slow cooker yogurt well over a year ago but didn't think much of it.  I like having yogurt for breakfast with cereal mixed in, especially in the summer with fresh berries.  But finding a yogurt I can feel good about eating that is affordable is difficult.  So I decided to give making it a try.

Most yogurts out there are made with milk (loaded with hormones), thickeners, artificial flavors and added sugars.  The yogurt I made contained milk (local and sustainably raised) and active live cultures.  You will need a half gallon of milk and half a cup plain yogurt with live active cultures.  I bought a large container because it was the only size organic plain yogurt with live cultures that I could find.  Since I wanted to make pure yogurt I wanted to use a starter without other crap in it.
 
I looked at many recipes and here is a compilation of a few that I think give the best directions.  I have now made it three times successfully this way.  Put the milk in the slow cooker on low and cook for 2.5 hours or until it reaches 180 degrees.  I check on it every now again, mix it and take the temp because you want to make sure it does not boil.  You want to kill off any bacteria so the live cultures can do their thing but if you get it too hot then the live cultures won't be able to thrive.

Then unplug the the crock pot and allow the milk to cool for 2-3 hours.  You want the milk to be between 110-120 degrees but I think between 110-115 is best.  When cool in a seperate bowl whisk 2 cups of the milk with the starter.  Then pour back into the slower cooker and mix.

Put the lid back on and wrap it up with a thick towel or two to incubate.  Leave it for 8 hours.  I normally make it so that the eight hours happens overnight. I have left it for a bit longer when I didn't get up in time and it worked out fine.

When you are done it will look like this with the whey at the top.  You have yogurt!  Mix it together, save a half cup for your next starter and then put it into a different container for storage and into the fridge to cool and eat. 

It will be thinner than a store bought yogurt that contains thickeners.  If you want a thicker yogurt then line a strainer with coffee filters or cheese cloth and leave in the fridge until enough whey has drained off for your desired thickness.

I really enjoy the plain yogurt.  It is actually less tart than the store bought kind and has a great mild taste that doesn't need flavorings.  Although it tastes wonderful with berries or sometimes a dollop of homemade jam mixed in.  The whey, if you strain it out, can be used in place of buttermilk in recipes so don't throw it out.  We used it in pancakes and it tasted the same as if buttermilk was used.

Sunday, July 15, 2012

Pesto


It was time for the basil's first major haircut which meant it was time for the first batch of pesto.  In the past I have bagged up different amounts and frozen it that way.  This year I tried putting it in an ice cube tray and freezing it then throwing them all in a bag once frozen.  The ice cube tray is easier.


Thursday, July 5, 2012

Quick Peach Shortcake

We had peaches and I was in the mood for a sweet treat.  I used a pancake/biscuit mix to whip up some fast shortcakes.  While they were cooking I simmered chopped up peaches with about a tablespoon each of water and brown sugar to help create a syrup.  When the biscuits were done we sliced them in half and topped with the fruit.  It was yummy!

Thursday, June 28, 2012

Farmers Market Meal


This time if year I am at least one farmers market a week if not more.  I picked up the pork chops and peaches at the market this past week and grilled both on my indoor cast iron grill pan.  Served with an Asian inspired glaze that had a little bit of this and that served with pilaf was an excellent summer meal!

Thursday, June 14, 2012

Minnestrone

This year I decided not to plant drying beans because the two rows I planted last year resulted in a whopping total 1/2 cup.  What do you do with just 1/2 cup of dried beans?  Not much I can tell you that.  So I hadn't used them yet, that was until tonight.

Yesterday I put the beans in a bowl and covered them with water and let them soak for 24 hours.  I then simmered them in a pot with water for an hour before incorporating them into the soup.


In my normal fashion I took a recipe and then modified it to meet my needs.  These are approximations of what I used to make the soup. 

In a pot I combined: two cans of fire roasted diced tomatoes, 2 cups water, 1 cup stock (any kind), beans, 1 bell pepper chopped, 1-2 cups penne pasta, 1TBS dried Italian herbs.  Bring everything to a boil, then reduce heat and simmer with lid on for 10 minutes or until pasta is al dente.  Turn off heat and mix in one large bundle of baby or chopped spinach, approximately 3 cups.  Top of each serving with Parmesan or fresh basil.

Sunday, June 3, 2012

Chive Blossom Vinegar

The chive blossom vinegar that I started weeks ago is ready.  All the flowers and other debris has been strained out.  Now all that's left is to use it.  I actually forgot about it so the color is almost red and the flavor is strong, but I like it.

Thursday, April 26, 2012

Pea Pesto


 I have seen various recipes on different versions of pesto, one being pea pesto.  Peas are in season and fresh right now so I thought I would give it a shot.  In true Vanessa fashion I didn't look at a recipe I just used what I already knew about making pesto.  I blanched the peas in salted water for 1 minute and then added them along with a handful of Parmesan, pine nuts and chives to the food processor.  I then pulsed it while streaming in olive oil.

While doing this I cooked whole wheat pasta in the water that the peas were blanched in and sauteed onions and mushrooms.  After tasting I added in a few drop of lemon juice, a pinch of salt, more chives, and a few ladle fulls of hot pasta cooking water to the pesto.  When the pasta was done I tossed all the components together.

I plated the pasta with a wedge of burrata cheese, a fresh mozzarella that has a creamy middle, sprinkled with peas shoots and chive blossoms from the garden.

Thursday, April 12, 2012

The Easter Quiche

This is the tale of the Easter Quiche that didn't want to be . . .

There once was a woman who saw a delicious and holiday worthy Spring quiche recipe.  It was made in a spring form pan and the height of the quiche made it enticing to make for Easter.  She began by making the pastry dough, chilling it, rolling it out and chilling it yet again before baking.  Once ready she filled it with her old rice that she always uses to weight down pie dough and put it in the oven.  Twenty minutes in the woman checked on the pie to see how it was coming along when she noticed the sides had fallen in because she only used enough rice for a regular size pie dish.  In a panic she pulled it out trying to salvage the sides and filled the pie with pasta.   It looked a little rough (quite sad actually) but she thought it might work.


Once done baking she went to remove the rice and pasta only to realize she had forgotten to line the pastry with parchment and had baked uncooked rice into it.  At this point she had blanched and sauteed all the fillings and was determined to make the quiche.  So she pitched the disaster and started over again.  This time lining the pastry with parchment and the proper amount of rice.


The woman did not use recipes often and when she did she changed them to suit her needs and available ingredients.  She decided to fill her quiche with asparagus, leeks from the garden, fresh peas, mushrooms and garlic.  She didn't have the whole milk and heavy cream the recipe called for but instead substituted the skim milk and half and half that was in her fridge.  Most of the time these substitutions had worked for her but she soon found out that the thinner consistency of these products weren't up to par for this dish.


After the quiche was in the oven about a half an hour she again checked on it's progress to find that the thin egg mixtures had seeped out through a few of the tiny cracks in the crust through the spring form pan and into the pan below that was meant to catch possible bubbling over.  Half of her filling was no longer in the quiche but in the pan below.  Again in another state of panic she decided to crank up the heat to let the bottom set and then would add a thicker egg mixture to the the top.

Thinking her quiche would be done in about two hours, three hours later the quiche still needed a bit more time but it was time for her to depart to a family function.  Already being a half hour late and no other options she turned the oven off and left the quiche in the oven hoping as it cooled down the quiche would finish baking.

Upon returning home she peered into the oven to find the quiche fully cooked.  A bit browner than she would have liked but at last ready to eat.